
Once I have all my shapes filled with flat color I will want to add some gradients to some of the shapes.
I make my gradients subtle by using 2 colors that are closely related but usually not the same hue or saturation. This gives the shapes a slight illusion of color depth rather than having only cold flat colors.
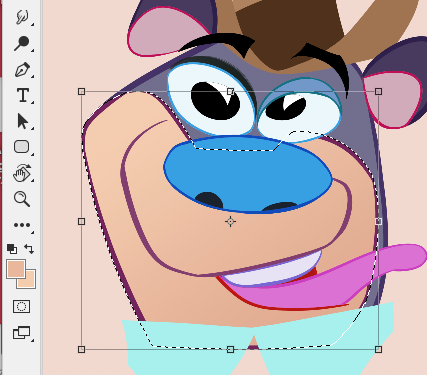
For example on the muzzle area of the bear I pick the color I used for the flat fill and for the other color I slide the cursor on the color selector slightly up or down, left or right to find a color that looks just a bit different than the first color.


Then I select the shape I want to add a gradient to.

Once selected I click the gradient tool and choose the type of gradient I want. In this case I chose the linear gradient on the left.

I then drag my cursor across the shape in whatever direction I'd like my gradient to appear.

Now the image is ready for the final step - rendering shading and textures using the Photoshop brushes.
This is a follow-up to these 2 posts below: