

Once I have my drawing inked and all the different shapes organized by folders and layers I'm ready to start dropping flat colors into the shapes.
I want to get from here
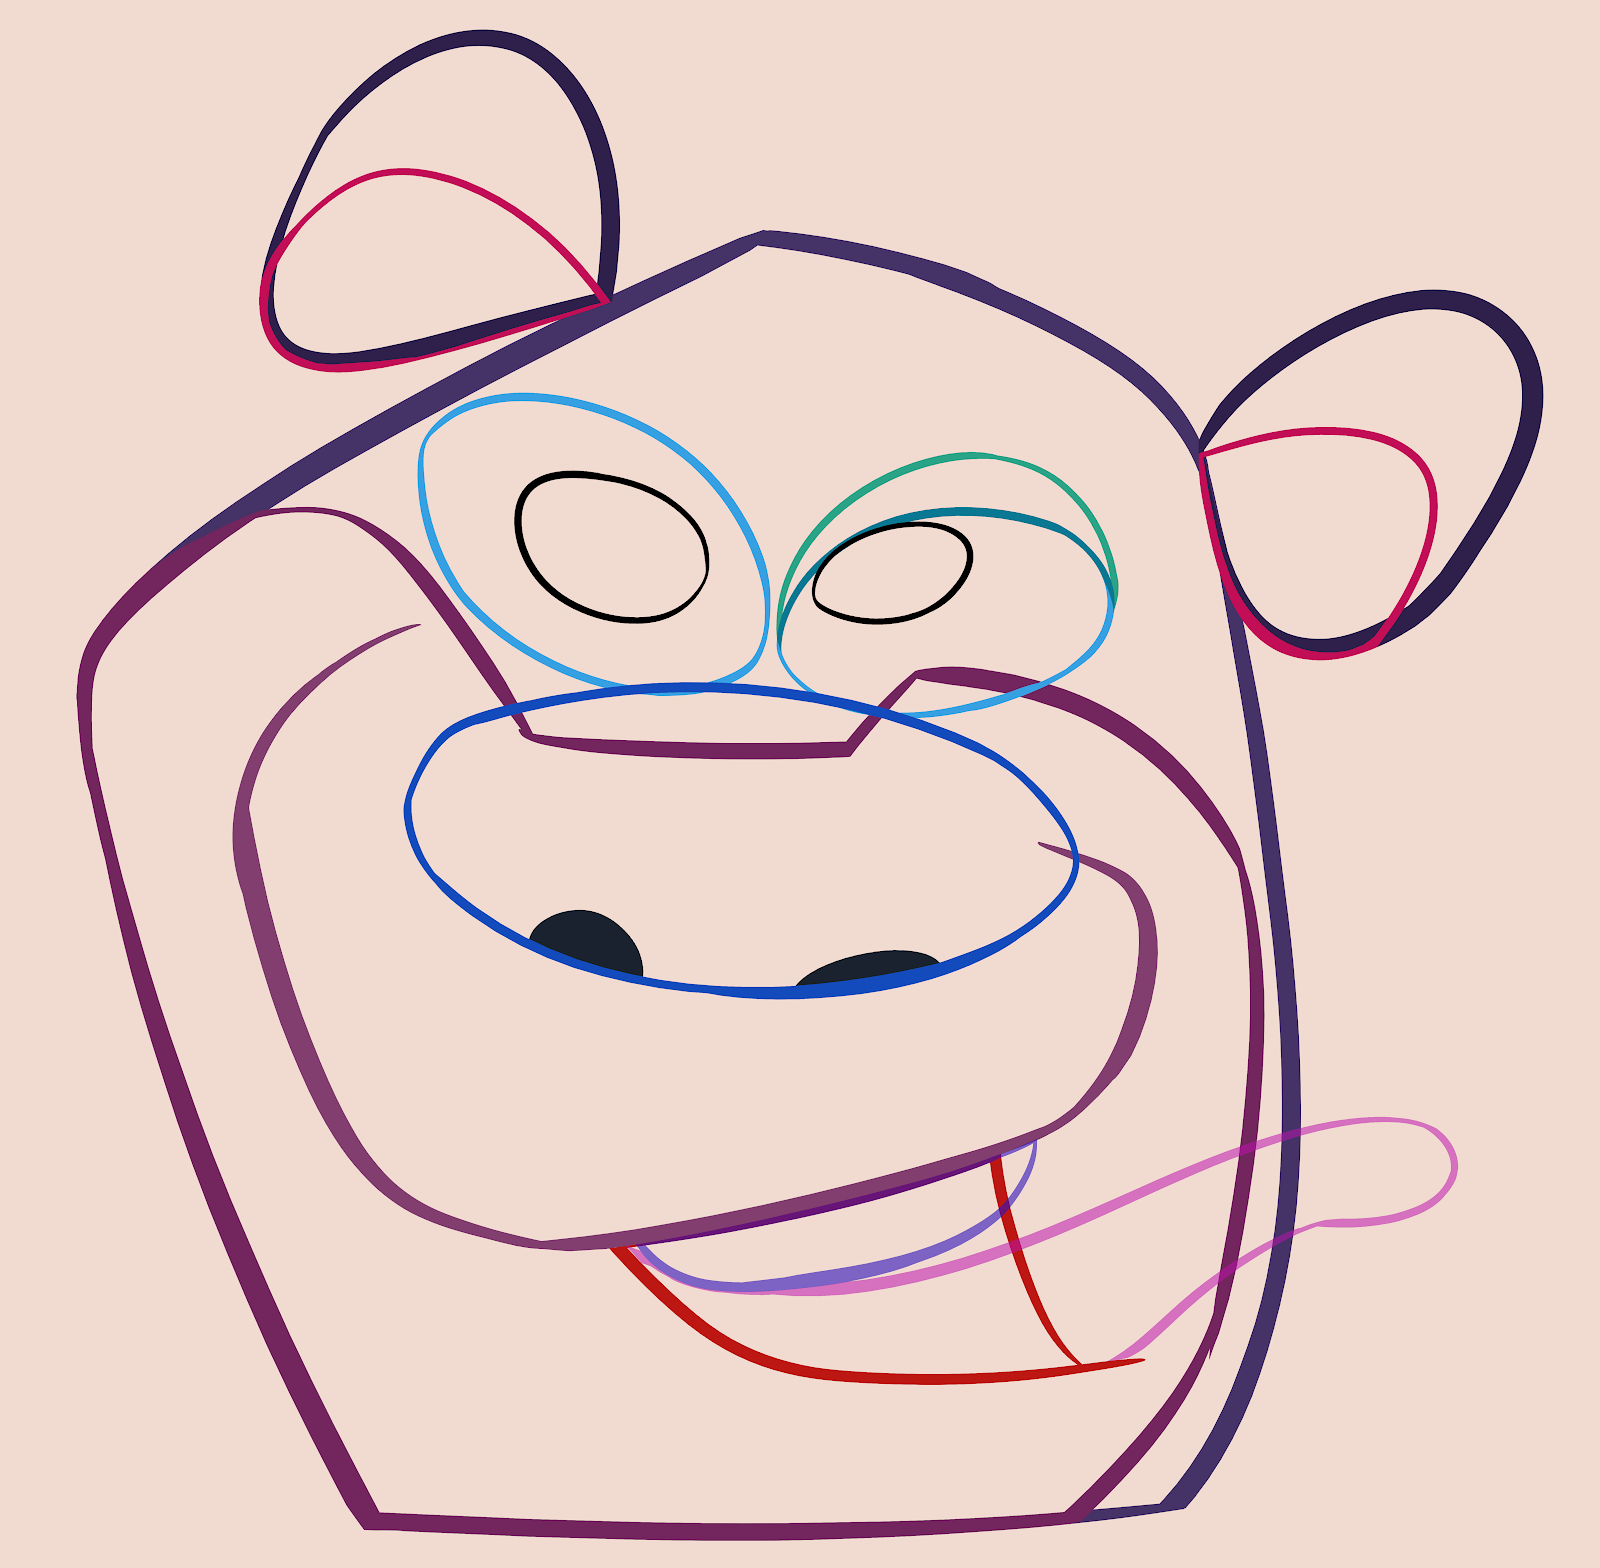
to here


I'll take my line drawing of the head silhouette and turn off some of the layer groups to make the color filling easier to follow.
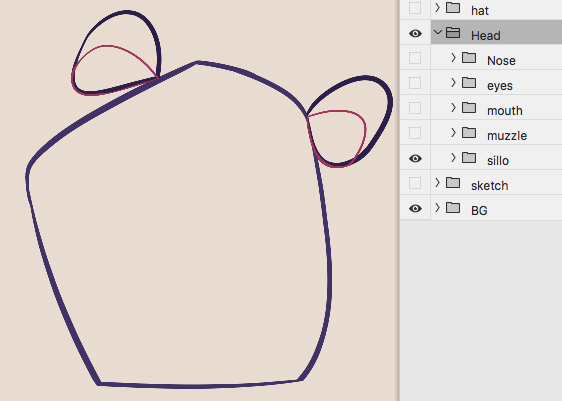
I turned off all the facial groups and am going to fill the 'sillo' area of his head. Inside the sillo folder I'll make a layer called 'fill' under the line layer that's named whatever the shape is - in this case also 'sillo' like the folder.

Now, using the magic wand tool I select the empty inside of the shape. The shimmering broken lines show the area that is selected.

Then while holding the shift key down, I also select The line itself.

Once the entire shape is selected I want to make it 1 pixel smaller all around.
I go up to the menu and drag down the 'select' menu to 'modify' and 'contract'.

Now it's ready to fill with color.
I click the color square at the bottom of the tool bar.


With the 'sillo' layer selected I then click shift-F5 and it fills the area with color.


Eventually everything will be colored but this is not how I want to final drawing to look.

I want it finally to look like a rendered cartoon painting like you used to see on coloring book covers or in Golden Books.
